March 2015, Vol. 242, No. 3
Features
Use of Ultrasonics for Measuring Sludge, Sediment Levels
In 2013, SGS PfiNDE received a call from a client pipeline company which transports a light hydrocarbon product with entrained particulate and sediment through a 150-mile section of pipeline in Minnesota.
The company encountered a challenge when, after cleaning the first 20-mile section of the pipeline, the cleaning tool became blocked by, what was determined to be, the excessive buildup of sediment in front of the cleaning tool. Due to the large amount of sediment in this particular line, the tool had gathered enough sludge to completely stop any further progress of the cleaning pig.
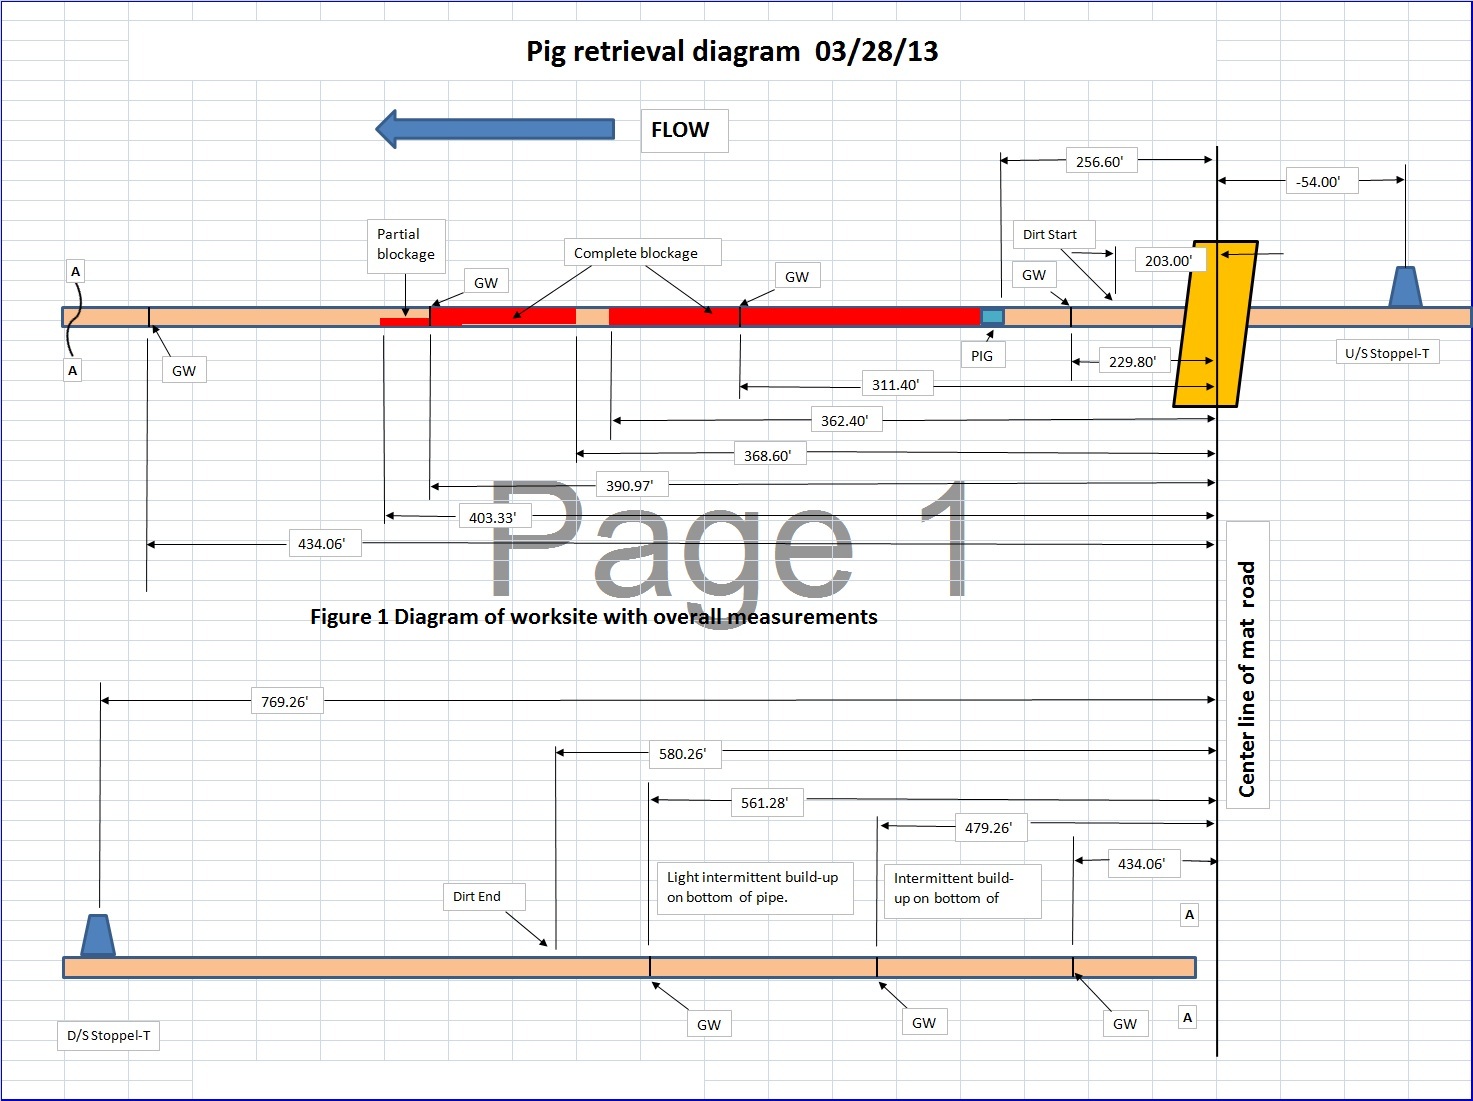
Although the company knew the approximate location of the pigging tool used, engineers faced three challenges. First, they needed to know the amount and characteristics of the sediment blockage. Second, they needed to know the location of the blockage in relation to the stopper tees. They needed to isolate and contain the sediment, determine the sludge level, and ensure that not only could the tool be removed, but that when the line was put back in service, the company would have no further issues with flow. Figure 1 was created by SGS technicians in the field as part of the final report.
Initially, the use of x-ray technology to solve the issues was discussed. However, because of the diameter of the pipe, and the fact that it was full of sediment and product, the parties agreed this would not only prevent them from meeting timeline goals, the x-ray technology would also not generate all the information needed to solve the problem.
After further discussions and review of available technologies, it was determined a technique could be developed using ultrasonic inspection technologies to determine not only location of the blockage, but also the amount of sediment in the line, its true length and other characteristics needed to expedite the repair and return to service.
Ultrasonic inspection technologies require only a single technician with minimal equipment, and results are displayed in microseconds, readily available for interpretation. Also, it does not pose a safety hazard. On the other hand, radiographic imaging requires multiple personnel with extensive equipment requirements and takes several minutes for each shot along multiple-foot sections of the pipeline. Additional time is lost to film processing prior to interpretation of the results. There is also the safety hazard posed by x-rays.
Since the transducer can transmit and receive sound through the entire volume of materials, with an ultrasonic inspection system a single transducer is connected to the ultrasonic instrument and used to take measurements from any location that has access to the outside surface along circumference of the pipe. (Figure 2.)
Staff traveled to a rural area of Minnesota and, using pipeline rights-of-way, arrived at the approximate location of the blockage. To begin the project, inspection personnel first helped determined the exact location of the pigging tool.
Inspection technicians determined the use of an ultrasonic scope that allowed the user to manually set the material velocity, as opposed to data logger equipment with pre-set velocity values, was required due to problems caused by varying velocities of the steel pipe, sludge and fluid.
The equipment selected allowed the inspectors to drop the velocity down to that of water, which is considerably lower than carbon steel. SGS inspection technicians also used a low-frequency, 2.25-megahertz transducer, which allowed significant penetration through the pipe, the fluid and the blockage.
Technicians knew the velocity of the steel used in the pipeline was 0.230 in/?s (.230 x 105). In addition, they knew the velocity of water (as opposed to oil) is about one-fourth that of steel, or 0.053 in/?s (0.053 x 10⁵). As a result, the velocity on the ultrasonic scope was set to water.
Once the ultrasonic system was coupled to the pipe, and the pipeline diameter of 24 inches was taken into account, the SGS inspection technician made the necessary adjustments in velocity settings to match the known distance from the top outside surface to the known distance of the inside bottom surface. (Figure 2.) This adjustment brought the velocity setting closer to the true velocity of petroleum product in the pipeline, which normally range from 0.050 to 0.055 in/µs (0.050 – 0.055 x 10⁵).
When inducing sound into the top of the pipe at a location upstream of the impacted pigging tool that was clear of sediment, the technician was able to transmit ultrasonic signals through the wall thickness of pipe and the entire volume of product in the line, and receive a return signal from the bottom (180°) of the inside pipe wall. Additionally, the technician was able to transmit ultrasonic signals through the entire volume of bottom wall thickness. (Figures 3 and 4.)
Using ultrasonic inspection technology, technicians were able to obtain a full-volume reading. Ultrasonic readings were taken along the entire section of pipeline containing the sediment around the circumference, enabling technicians to plot out the exact location of the sediment and determine the volume.
After final interpretation of the results, it was determined that about 150 feet of pipeline was solidly impacted with sediment buildup. (Figure 5.) Based on the results, the pipeline company was able develop a strategy to effectively cut and remove the specific section of the affected pipeline. (Figure 6.)
The repair plan developed permitted the removal of the pipeline section containing the blockage and the pigging tool well within the stopple tees, thereby stopping the flow of the liquid product before the operation.
Additionally, the pipeline company was able to remove the entire sediment blockage and buildup, thereby reducing any further issues, while at the same time preventing any product leakage which would have posed serious environmental issues. Finally, the removed section was replaced and after the completion of testing, normal pipeline operations resumed.
Conclusion
Typically, pipeline companies consider the use of ultrasonic inspection technologies such as shear wave, phased array, FAST and TOFD only in high-end weld investigations and while looking for cracks, dents and internal defects. Used properly, ultrasonic testing is appropriate for finding discontinuities below the surface of the material, such as internal corrosion, manufacturing flaws in pipeline materials and flaws in welds.
With today’s generation of ultrasonic technology, inspection techniques can be developed to provide safe and virtually instantaneous results that can be used quickly, efficiently and economically to obtain additional information such as fluid levels and checking for the presence of sludge, as well as many other instances in which, traditionally, a more costly and time-consuming technique like radiographic inspections would be used.
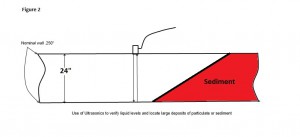
Figure 2
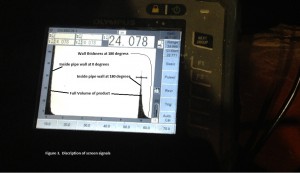
Figure 3

Figure 4
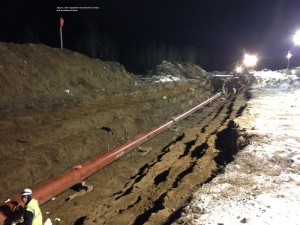
Figure 5
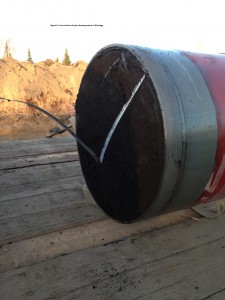
Figure 6




Comments